
Higher Rendering

Learning Intentions
Manage models and build scenes
Manage different file types and formats to create scenes. Learn how to edit meshes, manipulate parts and organise components.
Apply materials, lights and cameras
Apply node based materials and Physical-Based-Rendering (PBR) textures to models to achieve realism. Learn about different types of lighting, including Image Based Lighting (IBL) and how to set cameras to achieve the look you want.
Create renders and apply settings
Learn the different settings for creating renders, including ray-tracing cycles, image resolution, colour-depth and post-processing.


Downloads
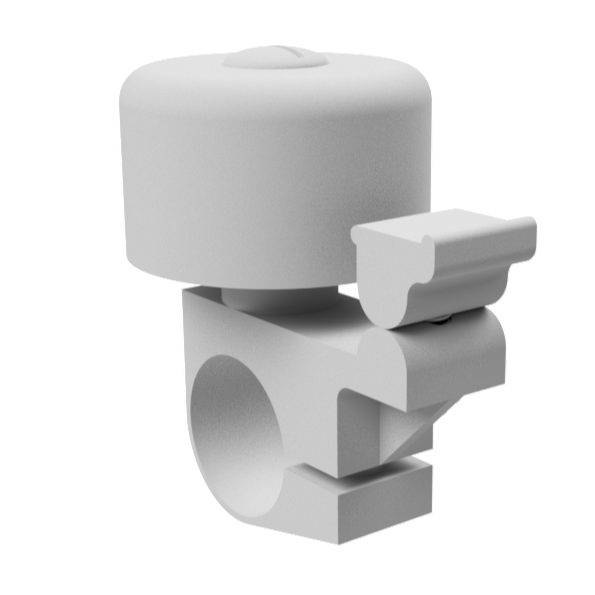
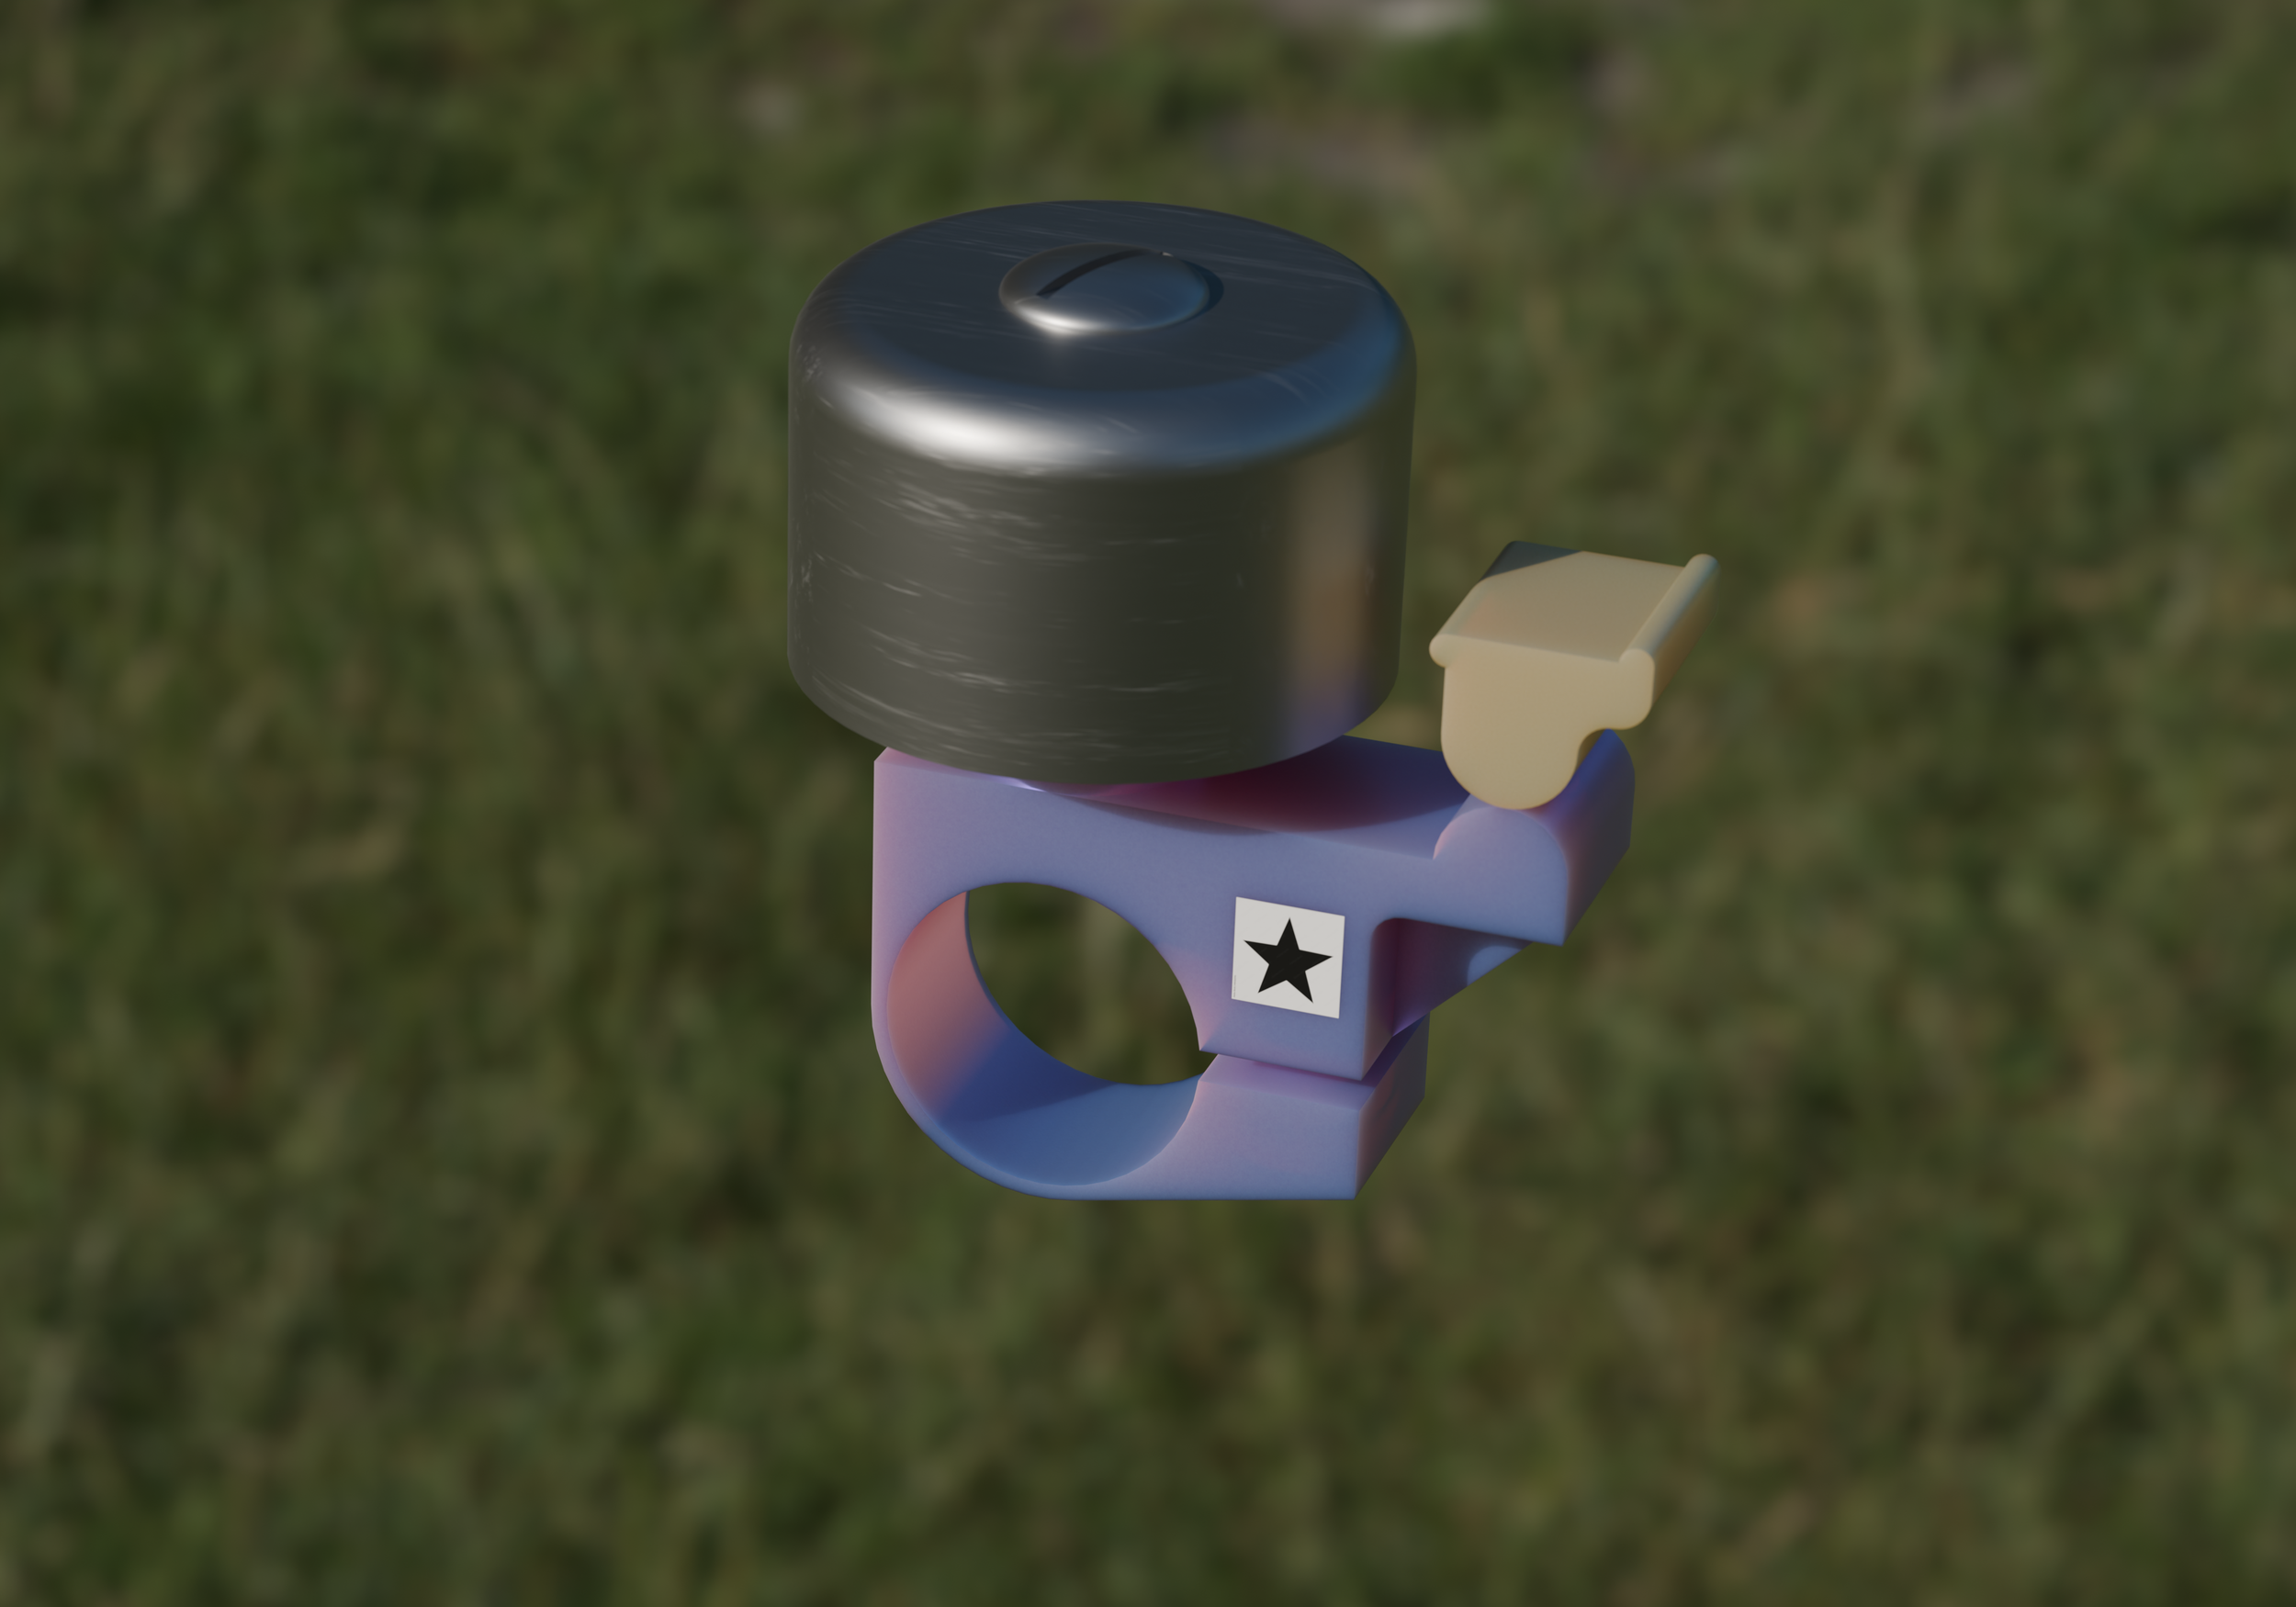
Download a 3D model of a bell in STEP and OBJ formats for use within CAD and rendering software of your choice.
Download a series of decals to apply to various 3D models. These are a mix of JPG and PNG formats.
Download a series of PBR materials for use within Blender, Maya, Cinema4D and 3DS Max.
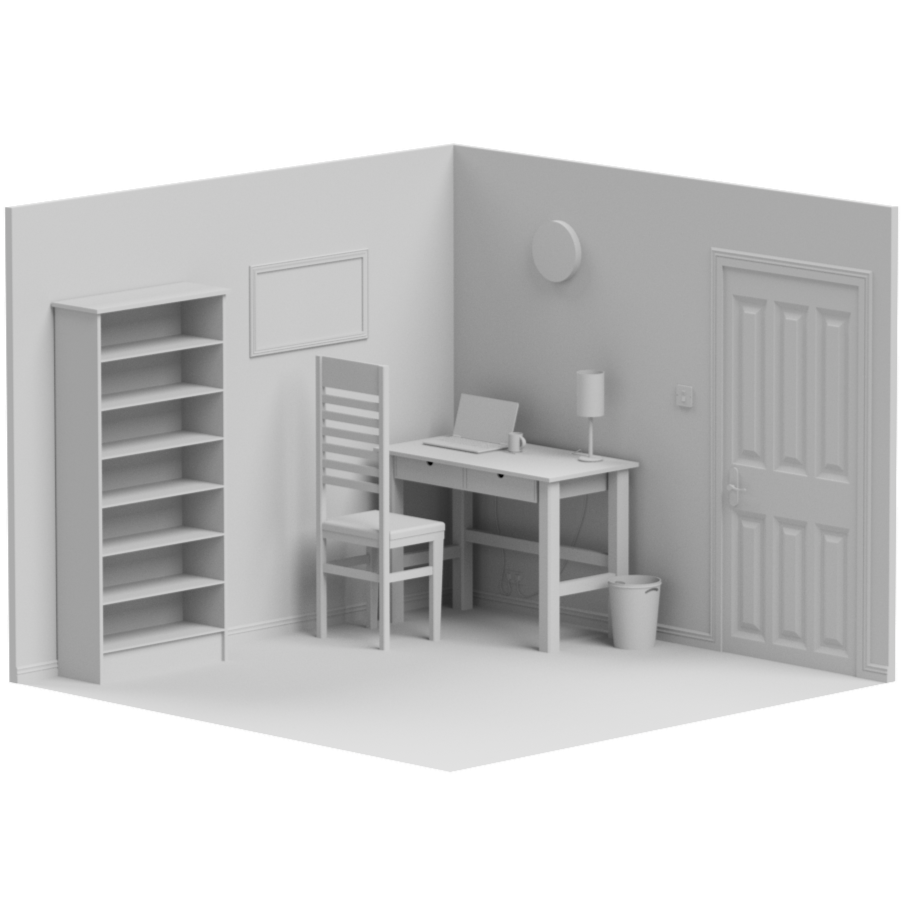
Download a 3D model of a small home office. Useful for experimenting with textures and lights. Available in .STEP and .OBJ formats
Blender Rendering
Blender makes your CAD models appear real. Learn to present and communicate your designs photo-realistically.
-
CAD to Blender
-
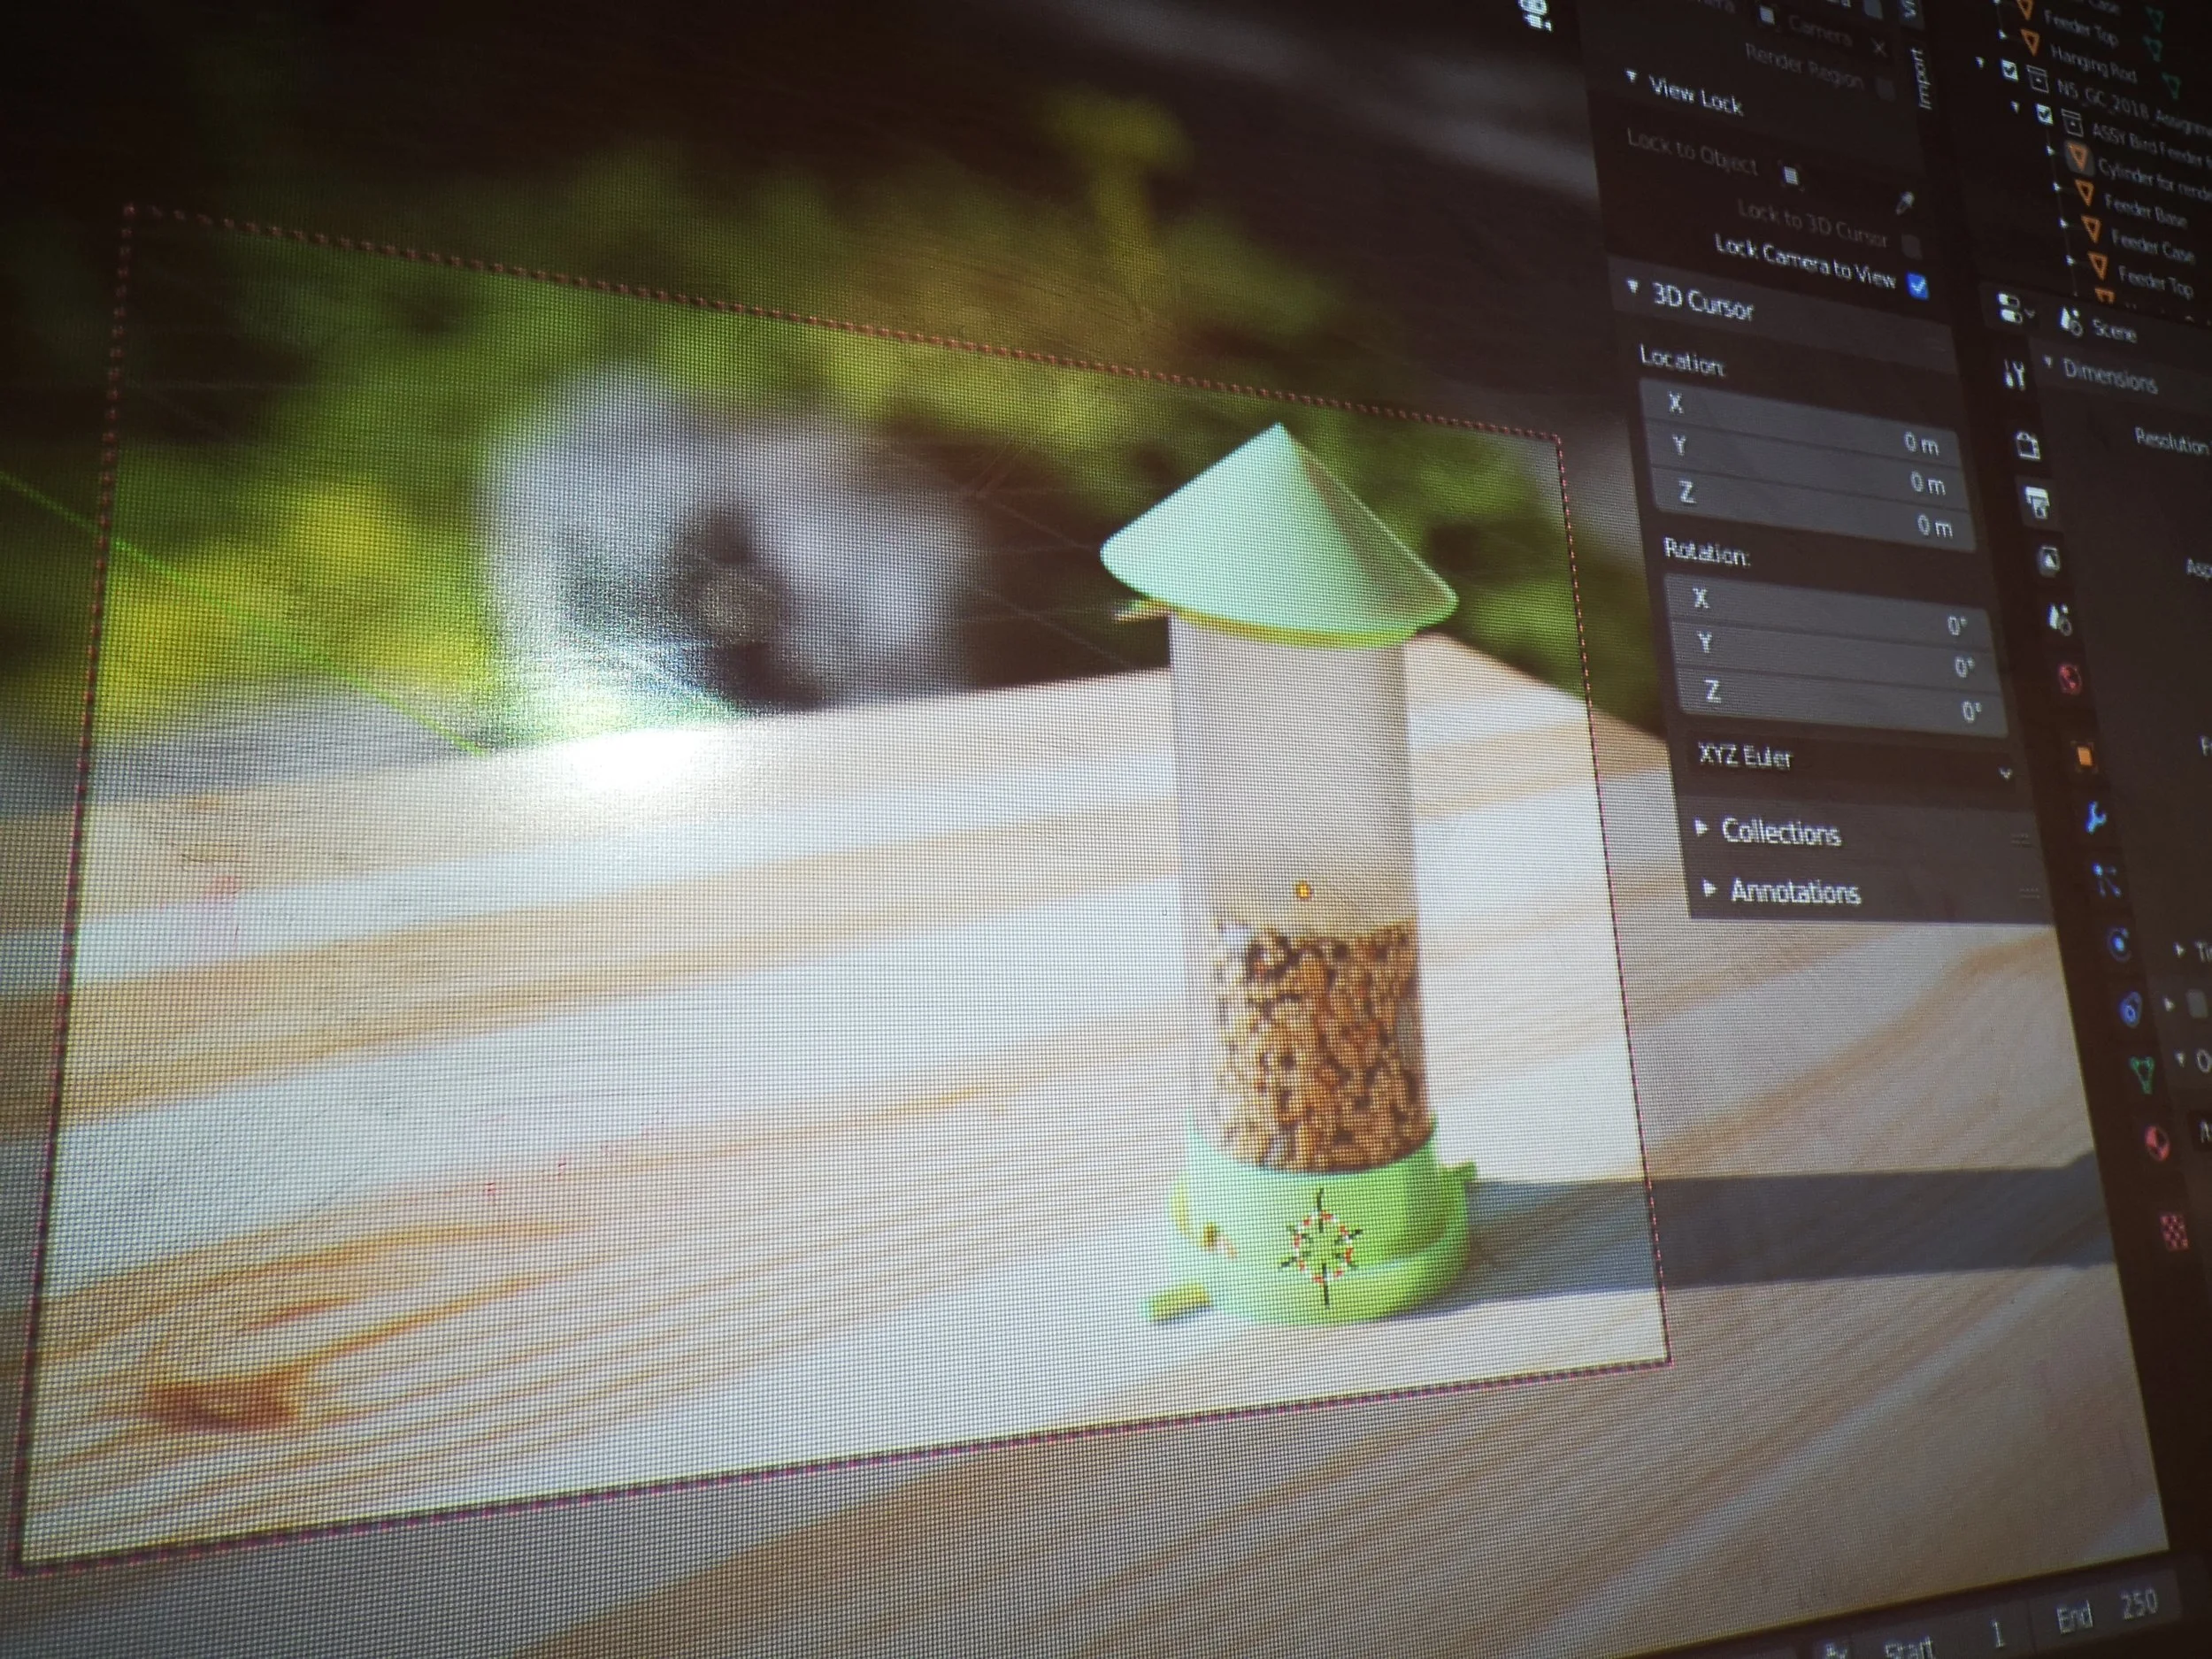
Lesson 1: From CAD to Blender
Export a 3D CAD assembly to Blender.
Whilst this tutorial uses Autodesk Inventor, the process works for Fusion 360, OnShape and Solidworks.
-
Lesson 2: Setting Blender Scale
Having Blender work at the scale you want - mm, m or km - can make life so much easier. Usually you will want to use mm.
In this lesson, we set the scene units, and set viewport clipping so the model doesn’t vanish if you zoom too close.
-
Lesson 3: Purge old materials
.OBJ files can bring over different materials from your CAD software. Whilst this can sometimes be useful, most of the time it creates clutter.
In this lesson, we purge old materials and delete them from memory… Forever!
-
Lesson 4: Clean your mesh!
In this lesson, we learn how to clean the mesh of the 3D model and separate it into component parts and name each part in the modelling tree / outliner.
-
Lesson 5: Package your Project!
When making a render, you will likely use lots of different files. Textures, HDRI lights, Decals - the list goes on. You want these built into a single Blender file.
In this lesson, you learn to tell Blender to package materials as you work.
-
Lesson 6: Setting your camera
Get your camera ready for creating a render and setting a view.
-
-
Setting Lights
-
Applying Materials
-
Applying Decals
-
Rendering Settings
"It's through mistakes that you actually can grow.
You have to get bad in order to get good"